This is a very interesting and amazing tool VMware has come up with which migrates windows Vcenter to VCSA.
Today we will walkthorugh to follow step by step on how this migration is performed.
As we always do once ISO has been downloaded you need to mount this in 2 places. First vCenter itself and second the windows server/client from where this migration would be performed.
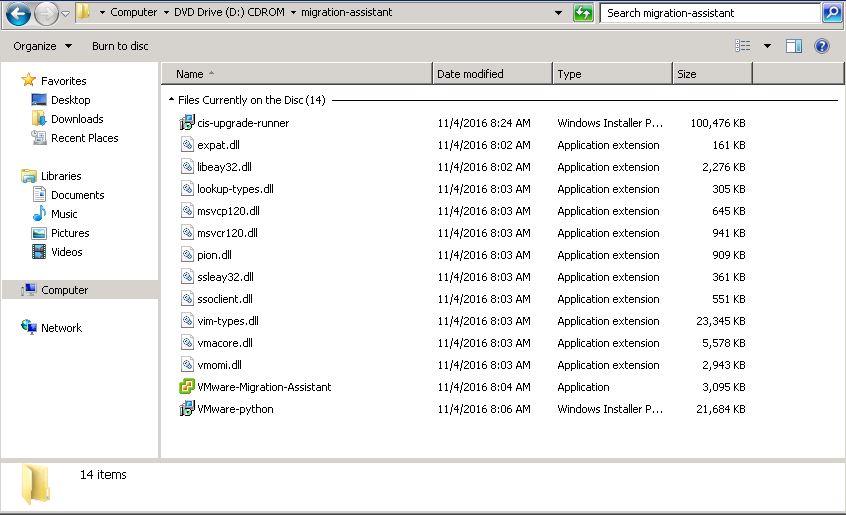
Currently we are inside the source or windows vCenter.
Access the migration-assistant folder. And double click on Vmware-Migration-Assistant Application.
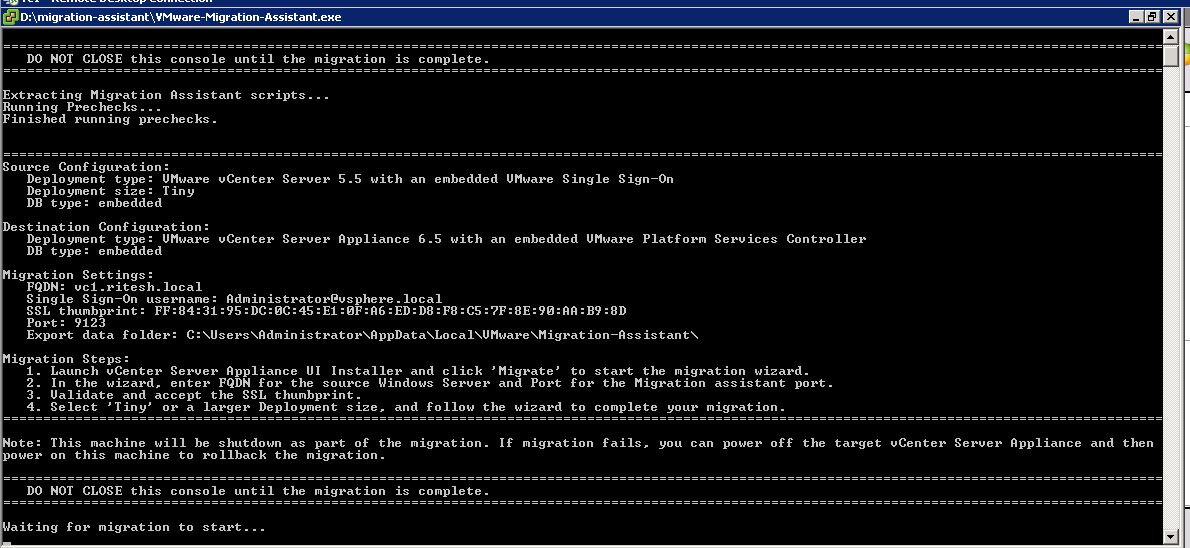
Application will in turn open a command prompt demanding for the SSO credentials to be entered. Do it and hit Enter.

This would ideally validate all the pre-checks for upgrade and would let you know if migration can be performed or you need to work on further if any pre-checks are failing.
Once all the pre-checks are completed you get a message stating waiting for the migration to start.
Go to the server from where you are planning to perform the migration. This cannot be run from the source machine itself since it would be shut down during the migration process.
Hence this server should be a part of the same network as your vCenter/ESXI in order to avoid port blockage. If this migration is being run from different subnet ensure the required ports and enabled and not blocked from the firewall.
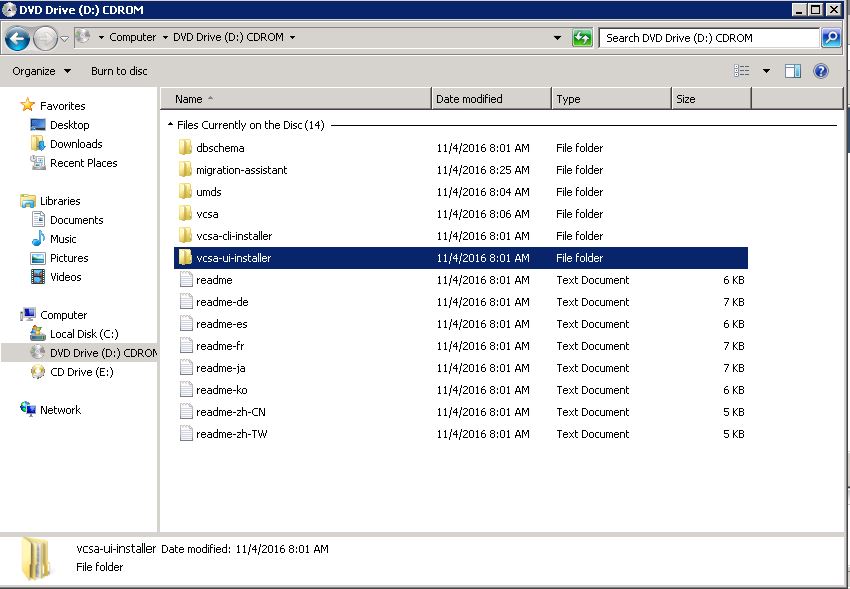
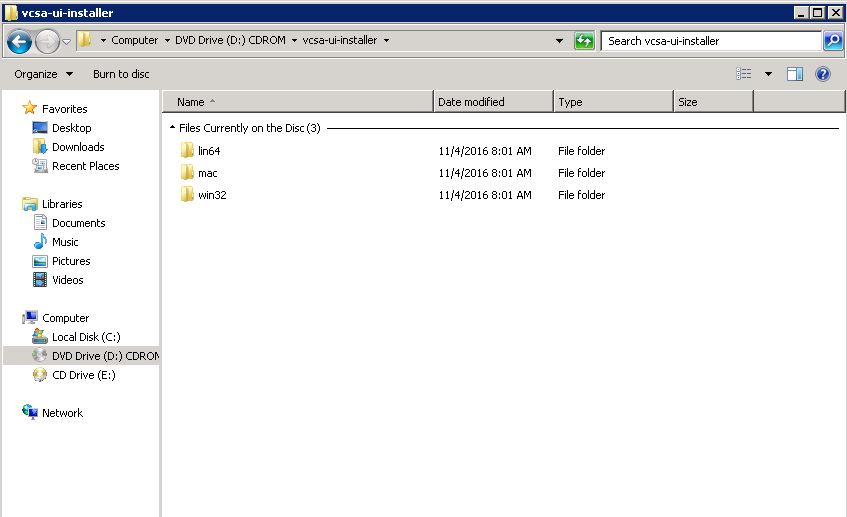
Access vcsa-ui-installer folder as per below screenshot.
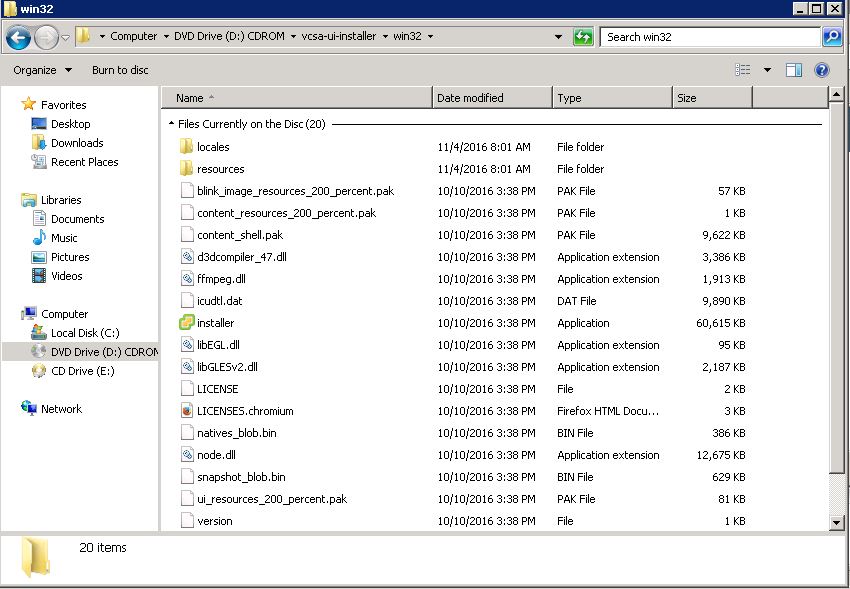
Select the required OS based on from which platform you are currently migrating. In the current eg we would be proceeding with windows. i.e win32.
Click on Installer.
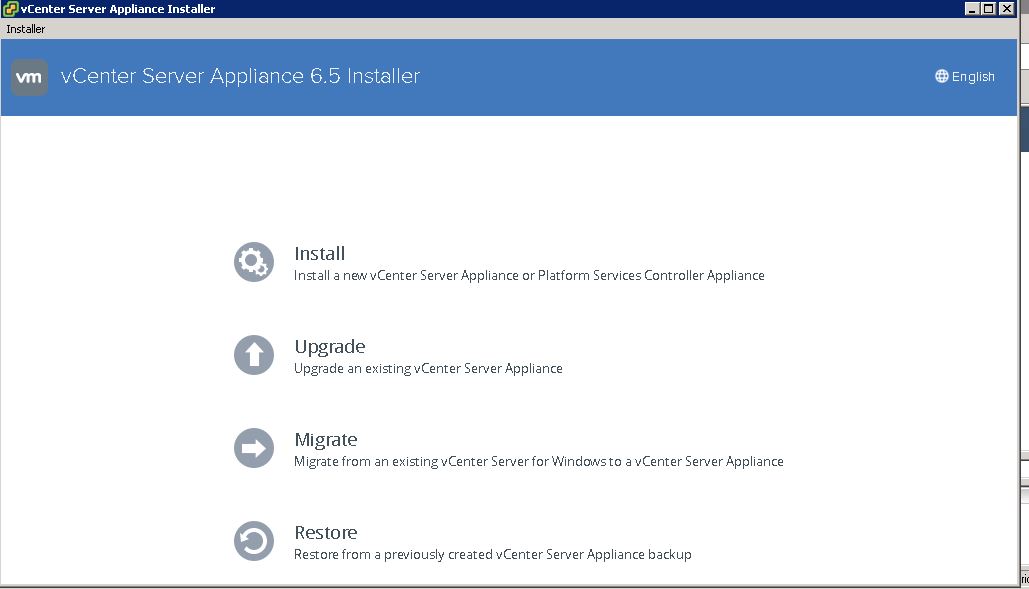
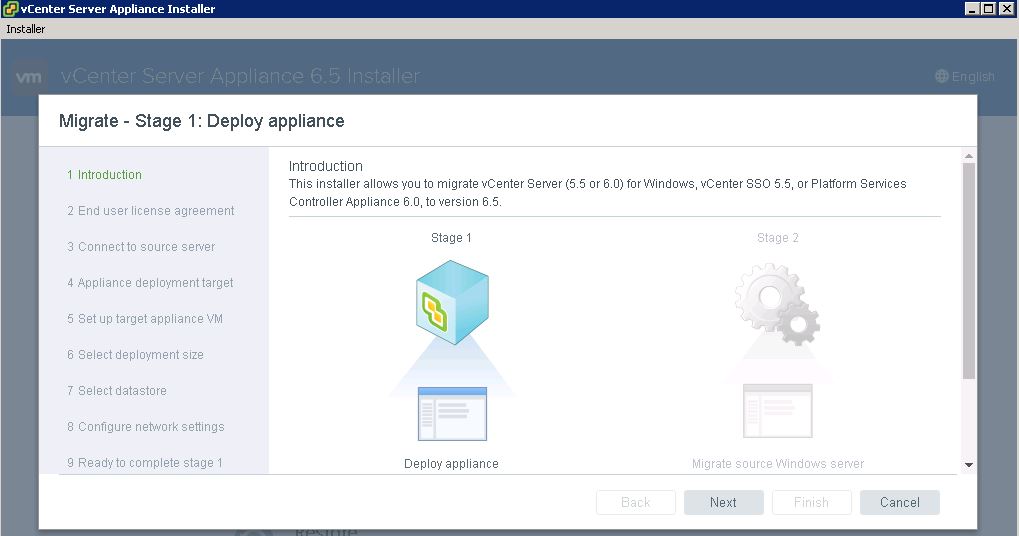
Click on Migrate.
There would be 2 stages where first one involves deployment of the appliance and second stage involves migration of your source windows server.
Click Next.
Accept the license agreement and click Next.

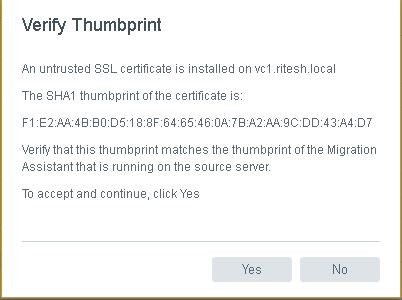
Provide the source vCenter information along with the SSO credentials.

Before connecting to the source server verify the certificate thumbprint and continue.
Click Yes.
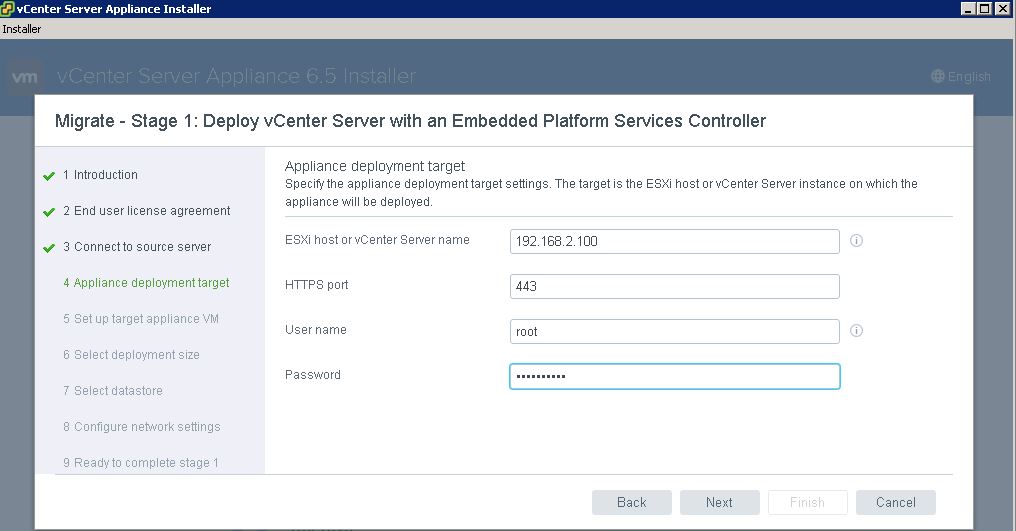
Provide the ESXI information in order to decide on which host the appliance would be deployed and registered.
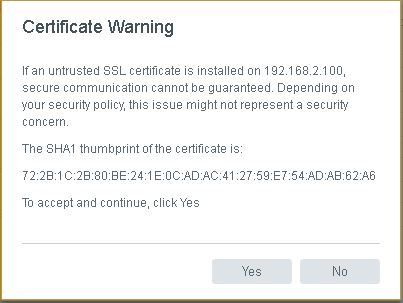
Accept the thumbprint and continue
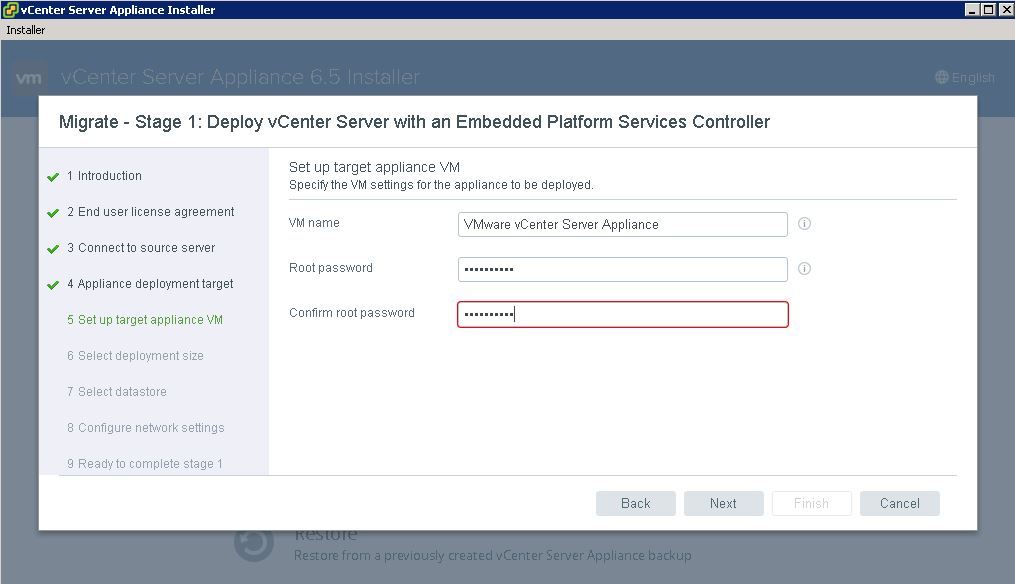
Provide the root password you need to set. This credentials would be used to login on the appliance itself.
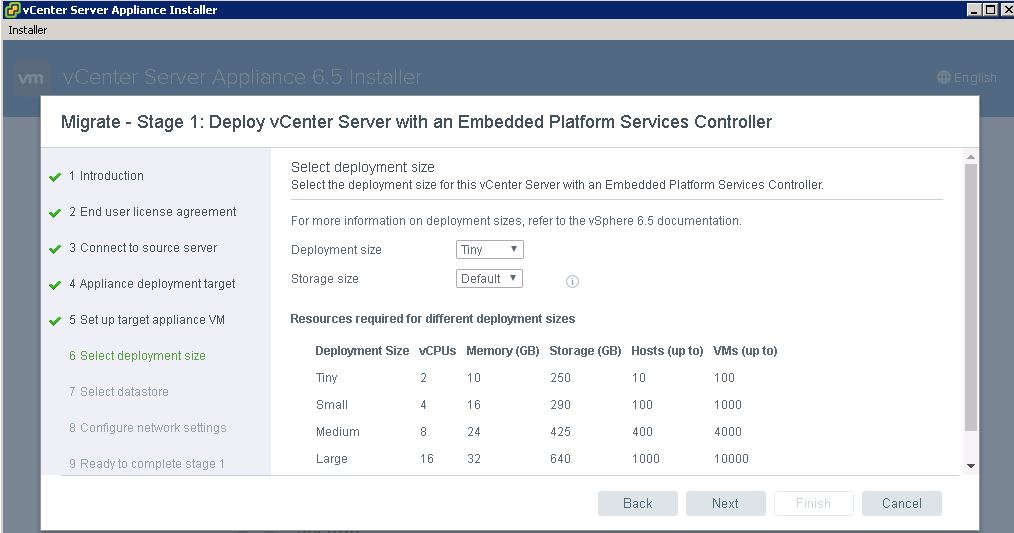
Based on your environment select the inventory size. In the current eg I would proceed with tiny.
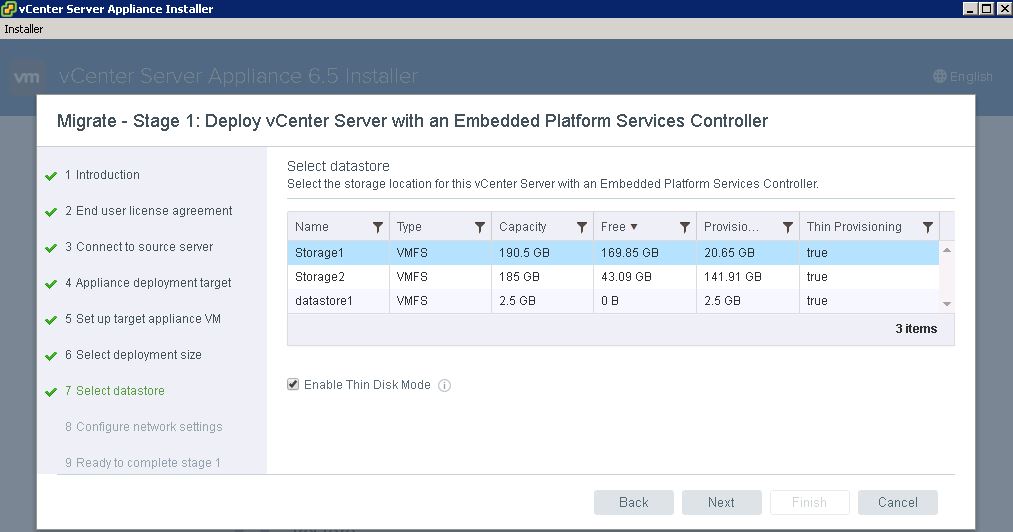
Select the datastore where you need to place the appliance.
Note: VCSA 6.5 needs minimum of 250 GB storage. Currently proceeding with thin provision.
Click Next.
Provide the temporary network information and ensure it belongs to the same subnet where source vCenter is currently residing.

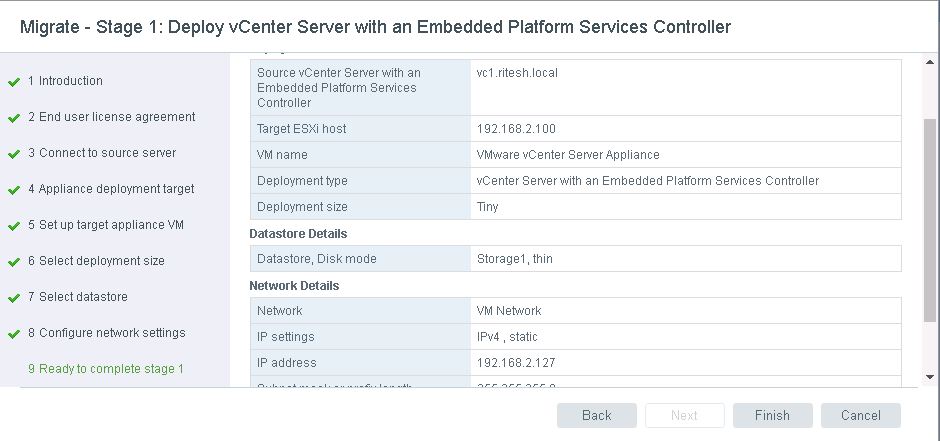
Review the information and click finish to start the deployment.
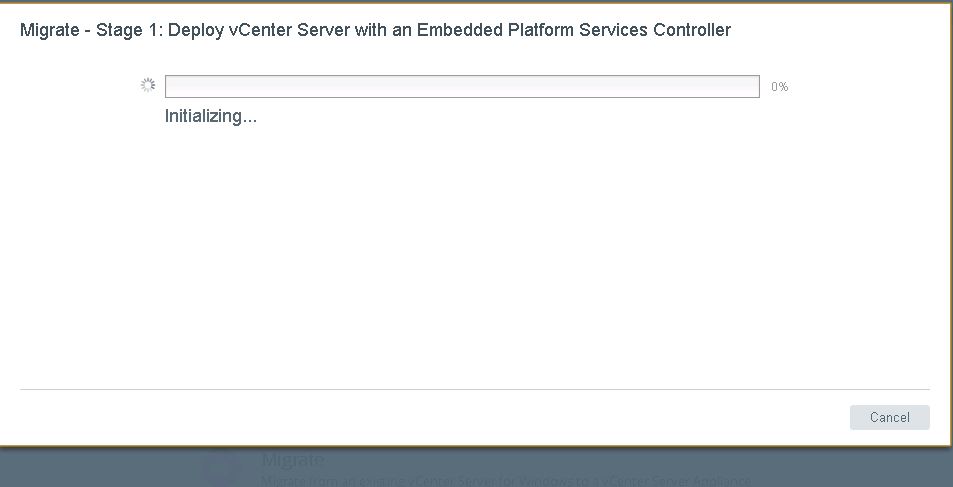
Deployment has begun !
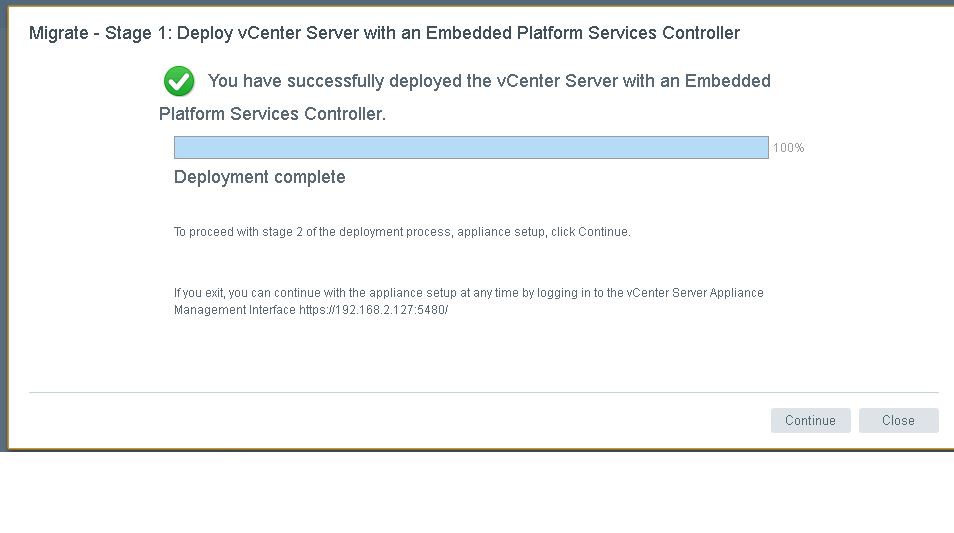
You could see from the below screenshot deployment has been completed. We would now proceed with migration in Stage 2.
Click on Continue.
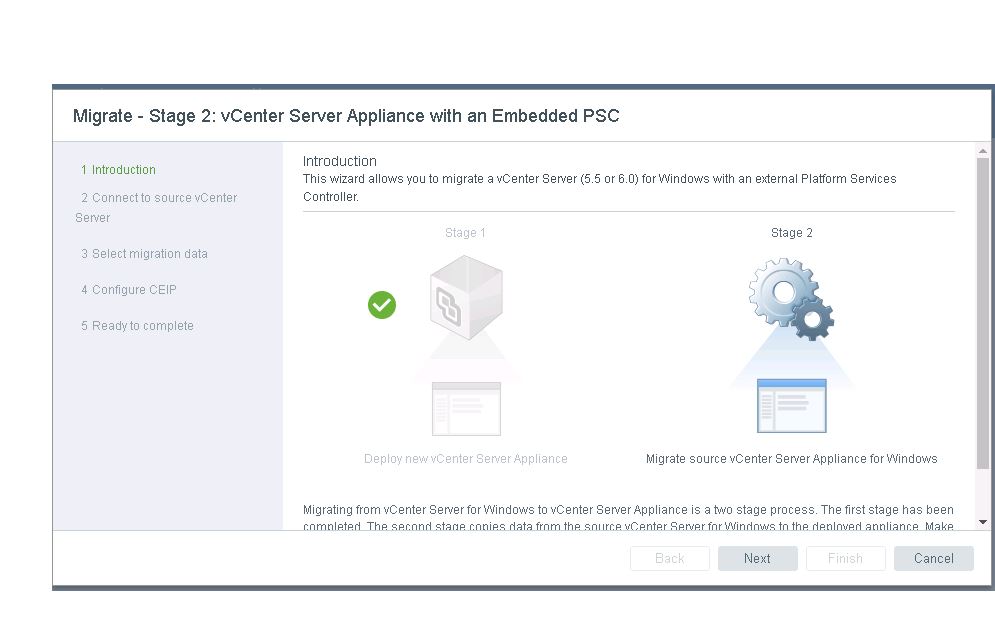
 Click Next.
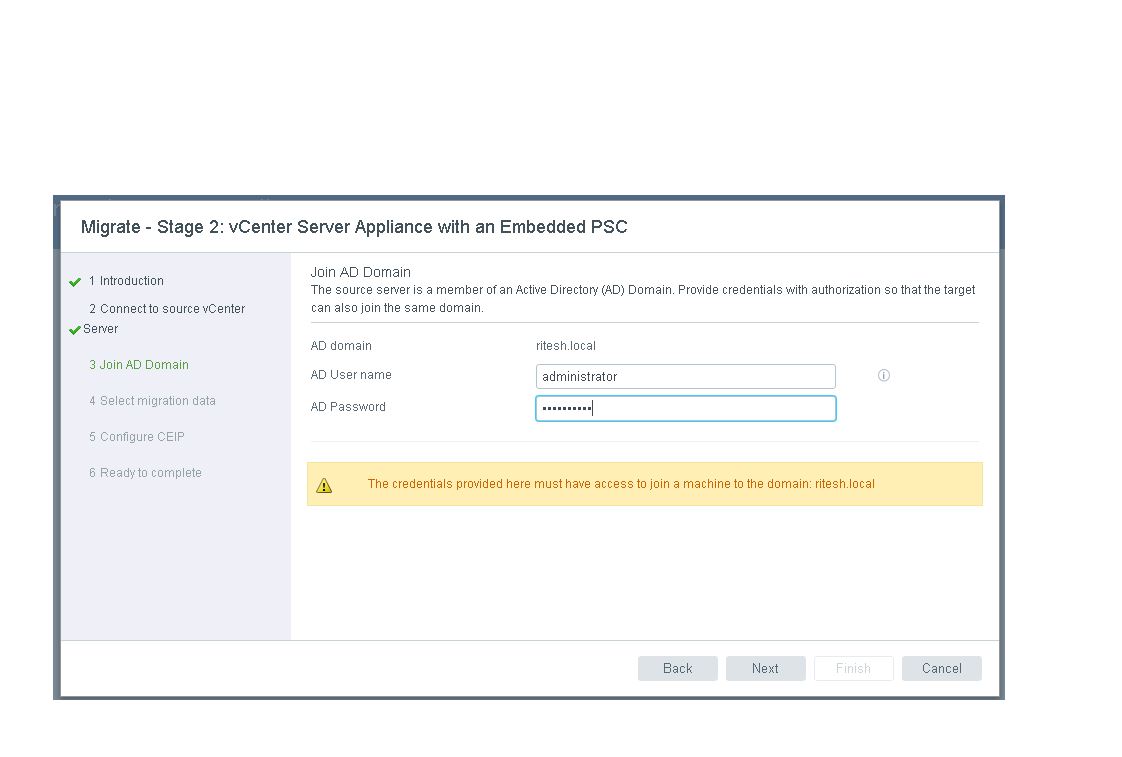
Below option is to add the VCSA under domain. Ensure to provide credentials which is a part of the domain admin or administrators group.
Below information indicates if historical data would be carried or you can proceed only with the configuration data. Choose the option as per your convenience.
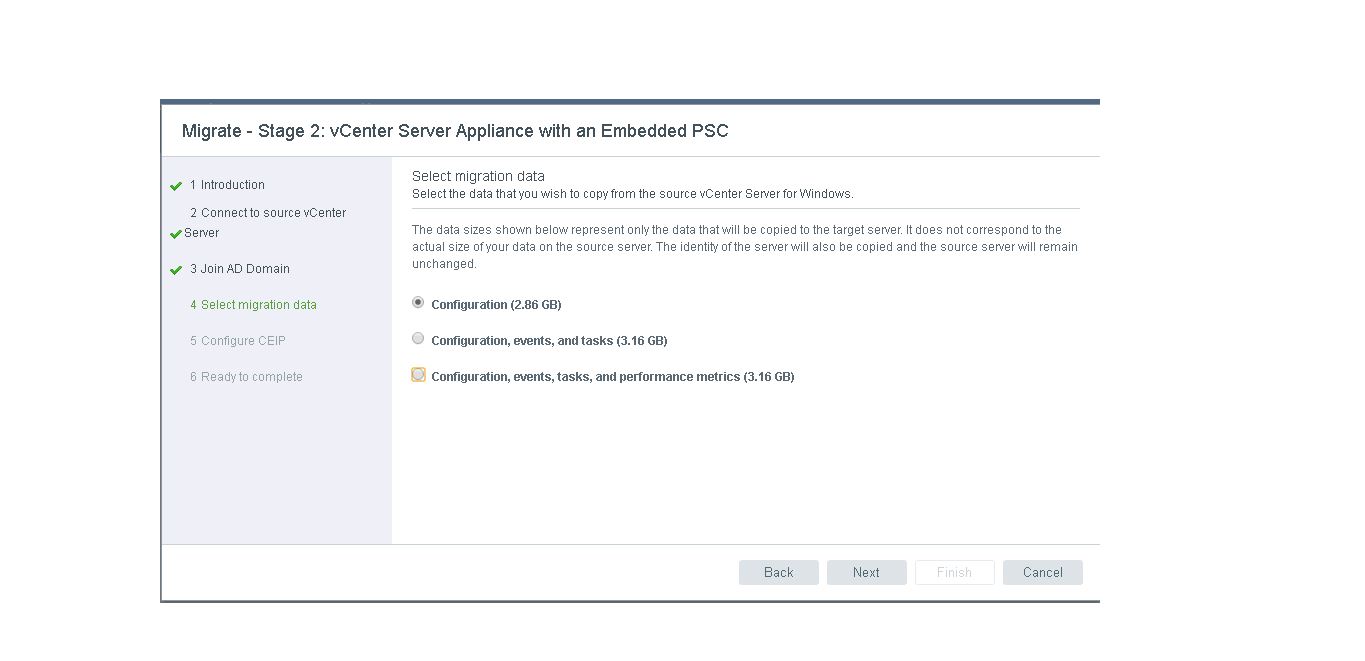
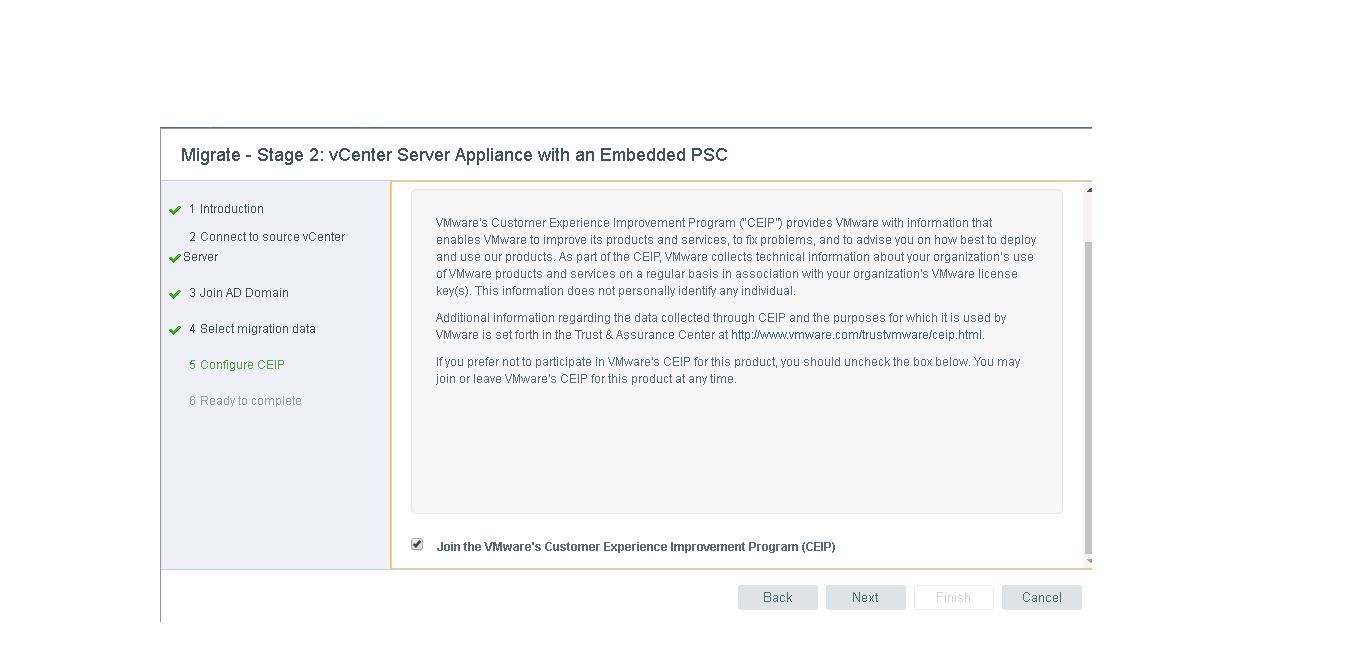
Click Next.
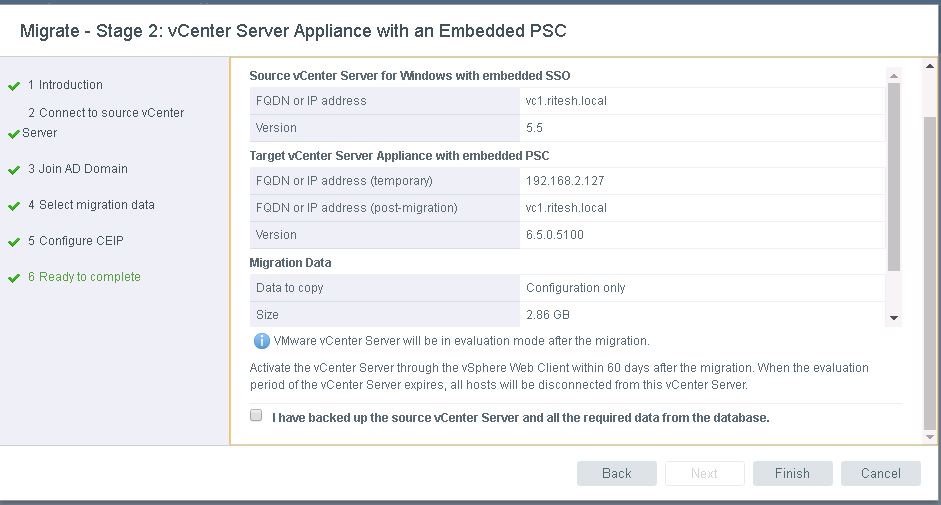
Review the information click on finish.
Click OK as the below information is self explanatory.

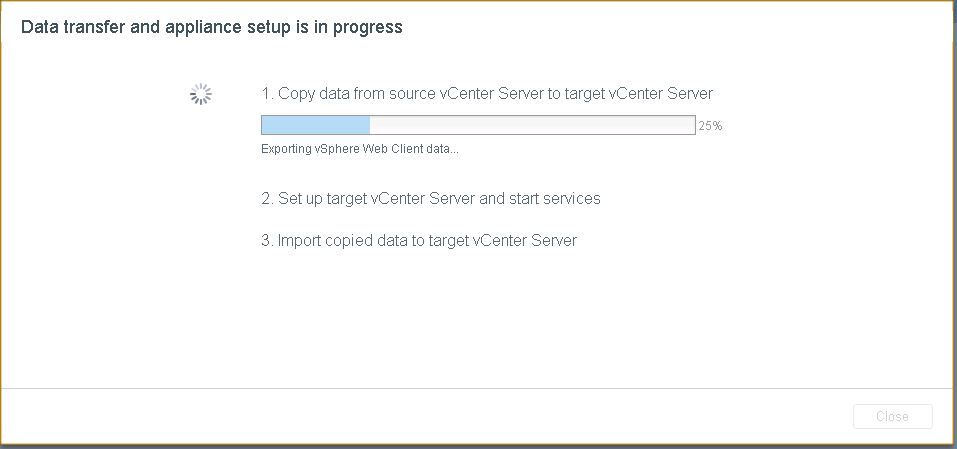
Data transfer has been initiated and migration is actually in progress.
Migration has been completed successfully !. Launch the web client to verify if all the inventory and data is intact.
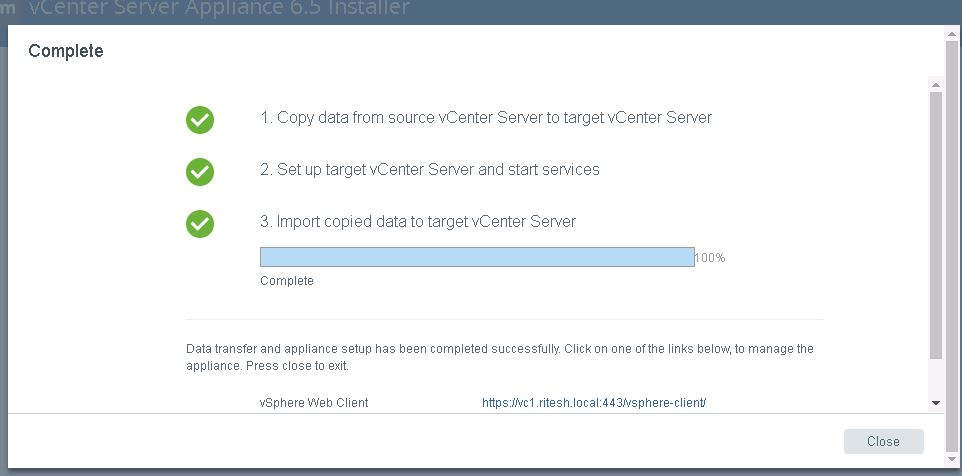
Below web client displays the version information which confirm vCenter is currently on 6.5.

Hope this article was helpful. Watch out for more.