SRM as discussed in my previous blogs is to automate fail over of virtual machines during disaster. Today let us walkthrough installation procedure of SRM 6.1
Please download the ISO from my Vmware portal. Always ensure SRM should be compatible with vCenter version installed in the environment. Always refer the compatibility matrix before proceeding.
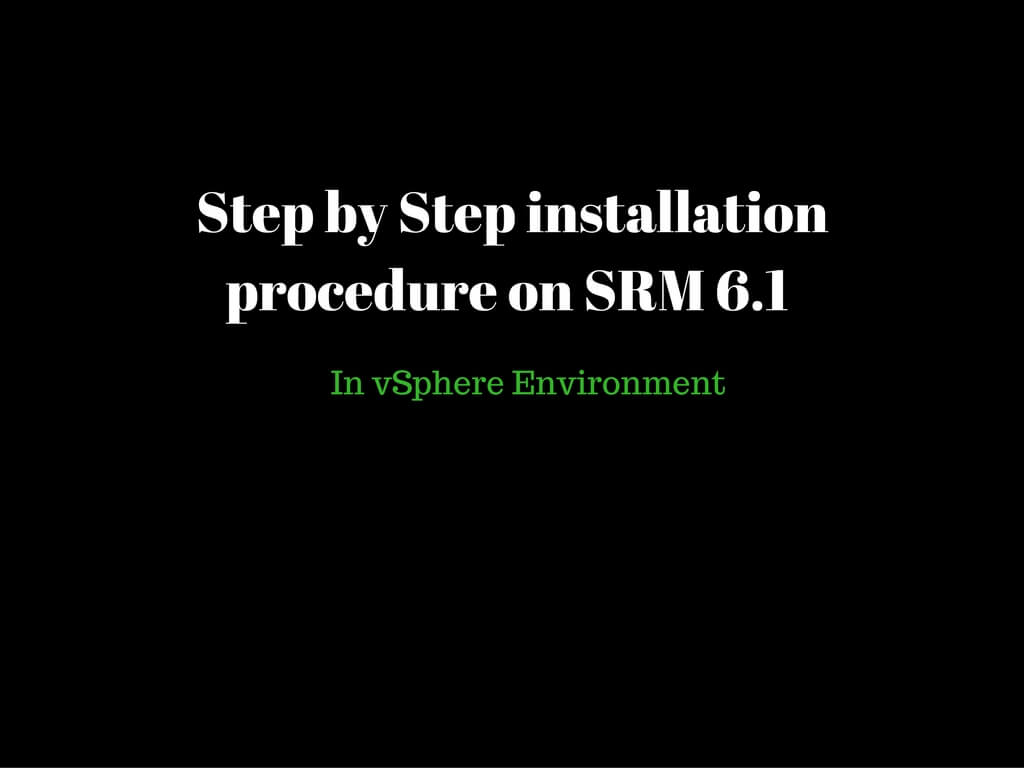
Double click on the SRM installable.

Click OK to proceed further.

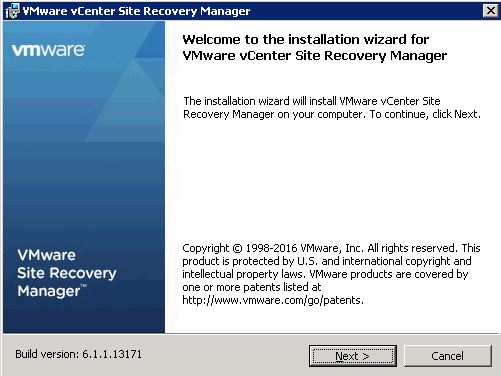
Click Next.
Click Next.
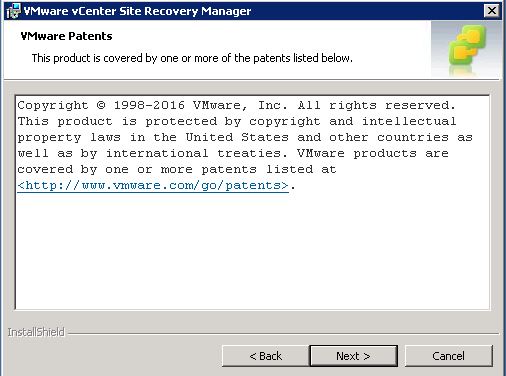
Accept the license agreement and click next.
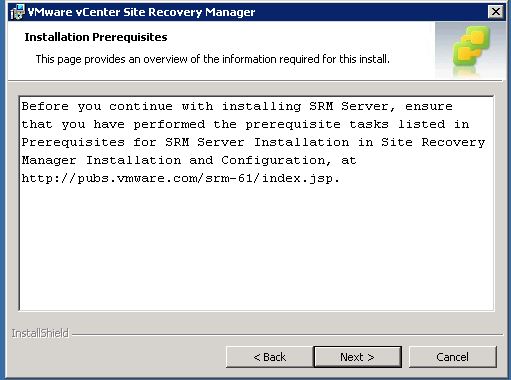
Click Next.
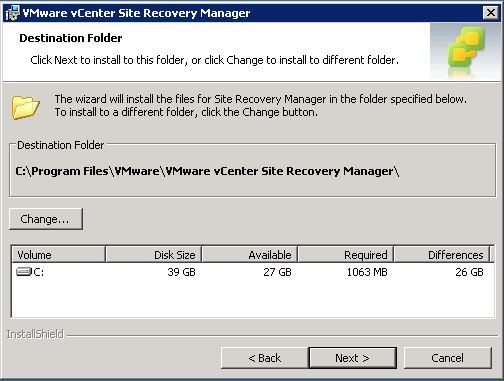
Default path would under OS drive. You can change the path as per your requirement.
Click Next.
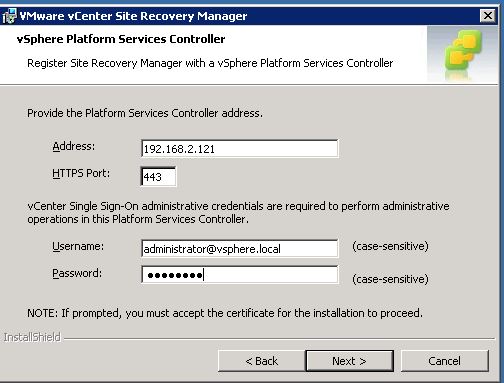
Provide Platform Services Controller IP address or FQDN along with the SSO credentials. Click Next
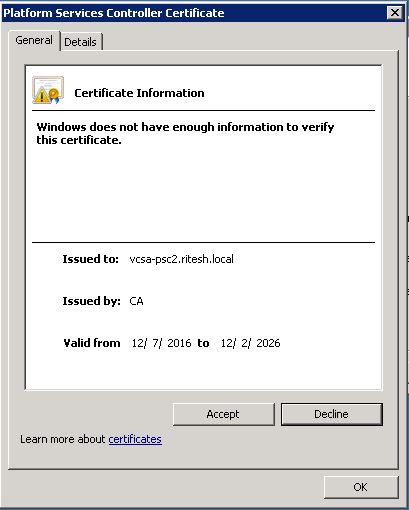
Accept the certificate to establish secure connectivity with PSC.
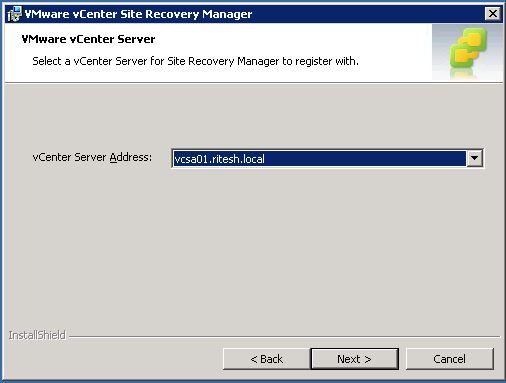
PSC would automatically populate vCenter registered to it. Select the appropriate vCenter and Click Next.
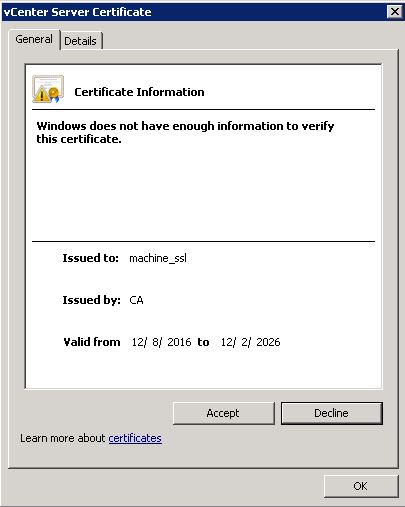
Accept the certificates to establish secure connectivity with the vCenter.
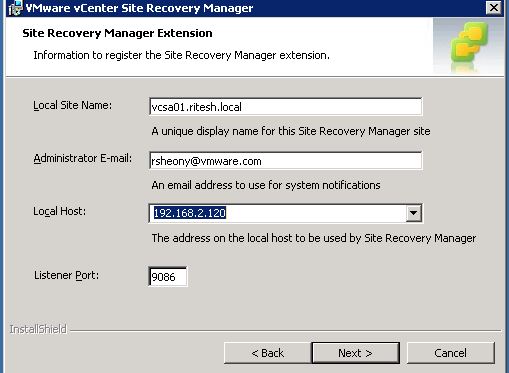
Provide the email address (optional) and select the current IP address configured for SRM under local host.
Click Next.
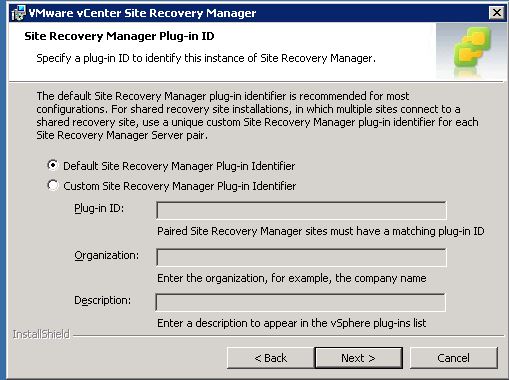
Based on the instance select the appropriate identifier. In the current situation since only one SRM instance is available proceeding with default identifier. Click Next.
If you have custom certificates available for SRM proceed with second option else proceed with first option. Click Next.

In case of certificate generation provide the below details and click Next.

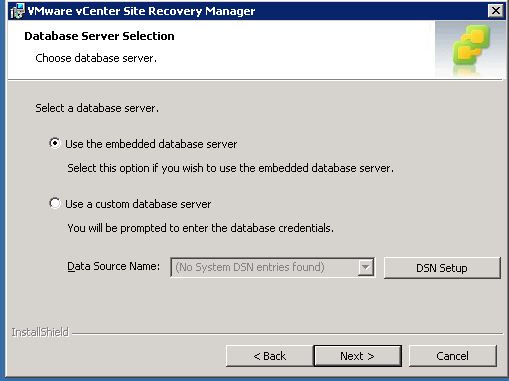
Select the appropriate database based on your requirement. Embedded would create a vpostgres DB. Custome DB supports SQL as well as oracle. Click Next.
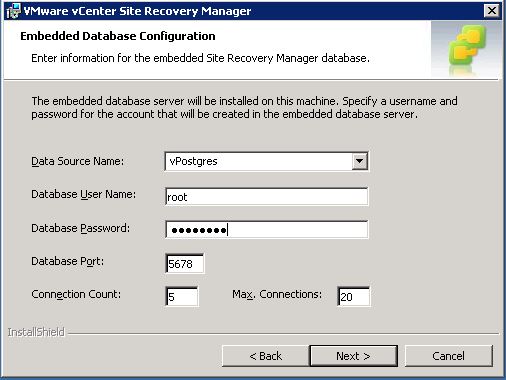
Set up the DSN along with the DB credentials. Click Next.
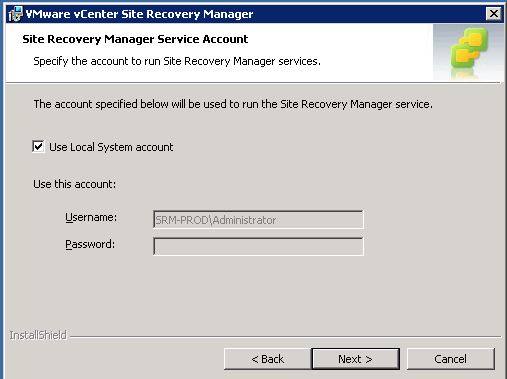
Select type of service account to run the SRM service. Click Next
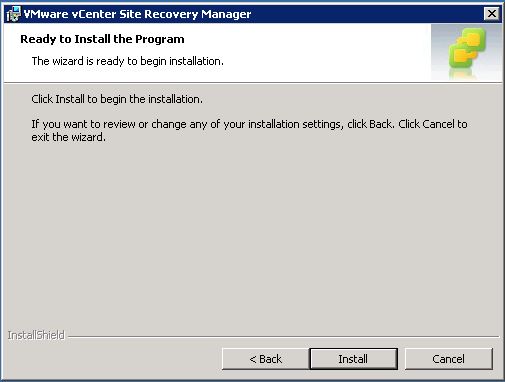
Click on Install.
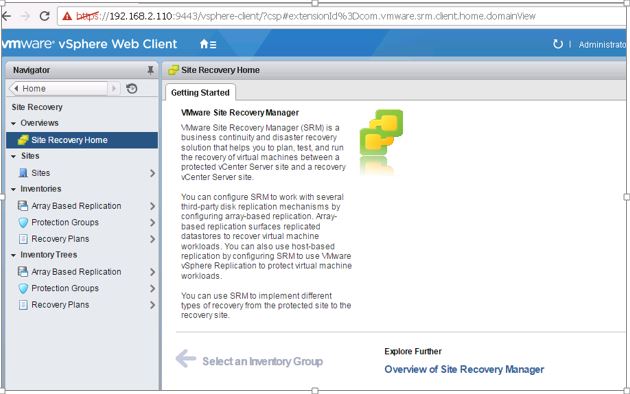
Installation is completed. SRM is successfully installed and registered in the web client.
Same set of steps needs to be followed on the recovery site in order to pair the sites and perform failover.
Hope this article was very helpful. Watch out for more.